If you are new to crocheting, here are some basic stitches to learn. First thing's first.. do not be intimidated by crocheting. Trust me. When I was first learning I got so frustrated to the point where I would toss my yarn and hook and tell myself, 'I'll never get this!'. I would go months without crocheting because I would always get to that point where I'd give up. But, I learned that it takes time and patience. Much, much, much patience. Your first project is not going to come out looking perfect.. I know mine didn't. And I am still learning. There is always room for improvement! So, after that little ramble, I will show you basic stitches and what I did to improve my crocheting.
- The Slip Knot:
- This is the beginning to any project. This is how I do my slip knot and I find it the easiest.
- Chaining (ch):
- Chains build the foundation to any project. They make rows wider and are very simple to do.
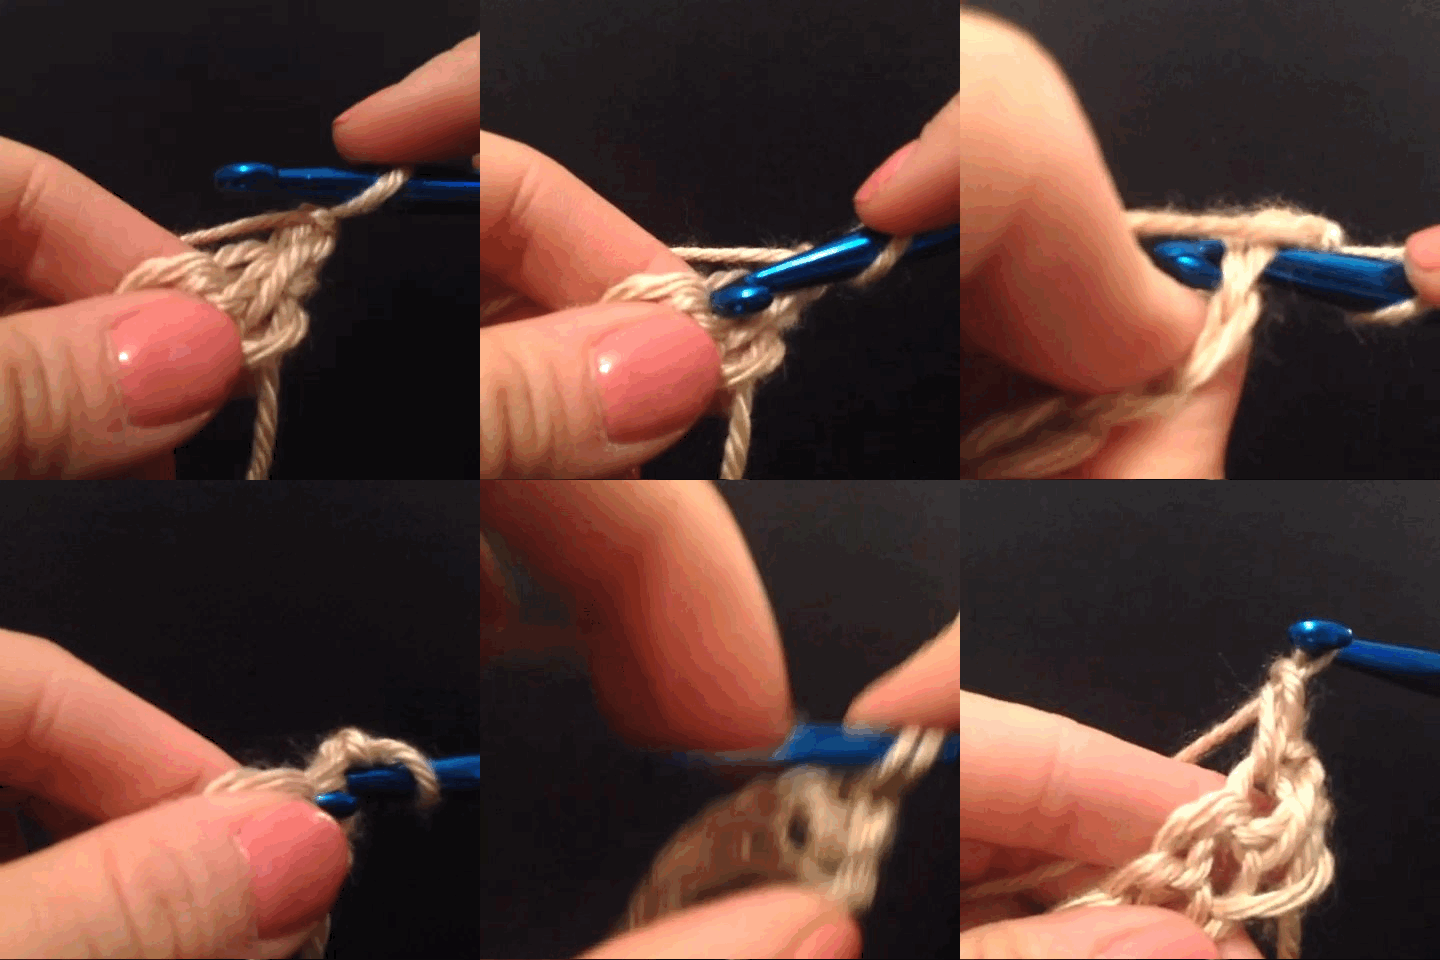
- Single Crochet (sc):
- Place your hook into the second chain from the hook. Yarn over, pull your hook through, then yarn over again and pull your hook through the two loops.
Result:
At the end of row 1, chain 1 & turn your work:
Row 2, place your hook into the top two loops:
The more single crochet rows you do:
- Adding a Ribbing Effect (with single crochet):
- Single crochet by placing your hook into each BACK loop.
See the difference?
- Double Crochet (dc):
- Yarn over, place your hook into the loop. Yarn over again and pull through two loops. Yarn over again, and pull through the two remaining loops.
Double crochet (on the right):
- Half Double Crochet (hdc):
- Yarn over, place your hook into the loop. Yarn over again and pull through all three loops.
Single crochet, single crochet ribbing, double crochet, & half double crochet:
Messed up? No problem. All you do is pull on your working piece of yarn like so:
And there you go! Now grab some yarn and a hook and start practicing. Remember, patience is key. Try not to get frustrated. Crocheting takes much time & practice! :)


No comments:
Post a Comment